First setup by model
New Printer Setup Checklist: From Unboxing to First Print
Written by Printers Setup Editorial Team · Updated
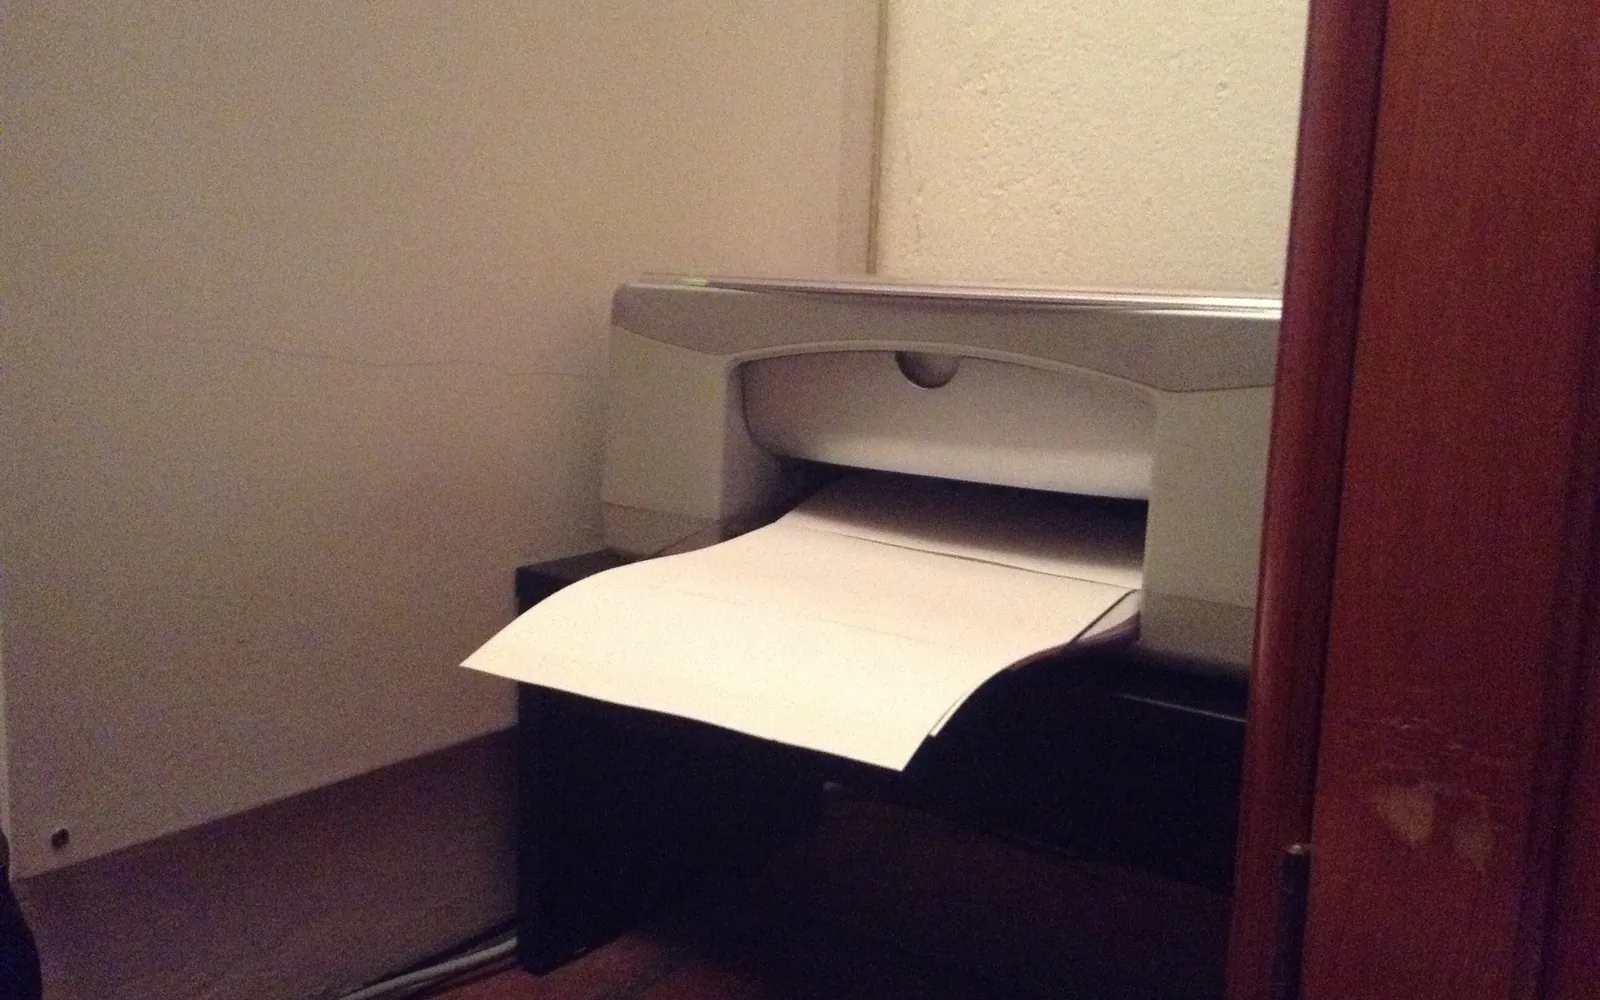
A new printer setup follows the same path on almost every home printer: unpack it fully, switch it on, put in the ink or toner, load paper, let it align itself, connect it to your network or computer, and print a test page. Each step is quick, but skipping one, especially a strip of hidden packing tape, causes most “brand new and already broken” moments. Use this checklist the first time you set up any printer.
Before you open the box
- Pick a spot. A stable, level surface near a power socket, with room to open the top lid, scanner lid and paper trays. For a wireless printer, within good range of the router.
- Decide how you will connect. Wi-Fi suits most homes; a cable to the router (Ethernet) is the most reliable; USB is fine for one computer. Our wireless printer setup guide explains the options.
- Have your Wi-Fi name and password ready if you plan to use Wi-Fi.
What is usually in the box, and what is not
Before you start, lay out the contents and check them against the list on the box or quick-start sheet. Typical home printers include:
| Usually included | Often not included |
|---|---|
| The printer and its power cable (some laser models have a separate power brick) | A USB cable |
| Setup ink cartridges, ink bottles or a starter toner cartridge | An Ethernet network cable |
| A quick-start or setup poster | Paper beyond a few sample sheets, if any |
| Sometimes a setup disc | A phone line cable, on some fax models |
The missing cable is the classic surprise. If you plan to connect by USB, check which ports your computer has: a USB-A to USB-B printer cable suits older laptops and desktops, while many current laptops need a USB-C to USB-B cable instead. Our guide to connecting a printer to a laptop with USB explains the options.
A setup disc, where included, is optional. Many computers have no disc drive, and the software on it can be older than the version on the maker’s website. See how to install a printer without a CD for the alternatives.
Also check the box flaps and the foam for small parts such as a paper output tray extension, or, on models that use one, a sheet or label showing the printer’s default admin password, and keep the setup poster to hand until the first print works.
Step 1: unpack and remove all packing material
Printers ship with tape and foam in places that are easy to miss. Check:
- Outside tape on every lid, tray and door.
- Inside the top cover and the ink or toner access door.
- Inside the paper tray and output tray.
- Under the scanner lid on all-in-ones.
- Any card or plastic carriage lock holding the print head still. Some models have a lock lever that must be moved to the unlocked position.
Keep the box and quick-start sheet until you are sure everything works.
Step 2: connect power and switch on
Plug the power cable into the printer and the wall, not into a cheap extension with other heavy appliances. Switch on. Printers with a screen then ask for language, country or region, and sometimes date and time. Country matters, because it sets the paper size default (A4 or Letter) and on some models which ink cartridges are accepted.
Step 3: install the ink or toner
| Printer type | What to do |
|---|---|
| Cartridge inkjet | Open the access door, wait for the carriage to stop, remove the protective tape from each cartridge and press each into the slot that matches its label until it clicks. |
| Ink tank inkjet | Fill each tank from its matching bottle (bottles are usually keyed so they only fit the right tank), then close the caps. Allow the initial ink charge to finish; it can take several minutes. |
| Laser | Remove the toner cartridge, gently rock it side to side, pull out any sealing strip, and insert it. |
Do not touch the copper contacts or nozzles on cartridges. Close all doors and wait while the printer primes; it will be noisy.
Step 4: load paper and align
Slide the paper guides out, load a stack of plain paper (do not overfill), and push the guides against the edges. Many inkjets then print an alignment page. Some ask you to place it on the scanner glass and scan it; others simply ask you to confirm. Follow the prompts; good alignment avoids streaks and fuzzy text later.
Step 5: connect the printer
Choose one:
- Wi-Fi: use the printer’s setup wizard, the maker’s app, WPS or Wi-Fi Direct.
- Ethernet: plug it into the router; see Ethernet printer setup.
- USB: connect it to the computer. USB cables are often not included in the box; see connecting a printer to a laptop with USB.
Some makers ask you to create an account or register during setup. For basic printing this is usually optional; see the brand-specific pages for HP Smart setup and Canon PIXMA setup.
Step 6: add the printer on your devices and test
Print a test page from the computer, not just from the printer’s panel, to prove the full path works. If the printer is an all-in-one, also try a scan; see printer scanner setup.
Step 7: a few settings worth checking
- Firmware updates: decide whether the printer should update itself automatically. Updates fix bugs but can also change which third-party cartridges the printer accepts; read the maker’s notes.
- Sleep and auto-off timers: shorter timers save power but can make a wireless printer slower to respond the first time each day.
- Default paper size on each computer, to match the paper you load.
Your printer is now set up. Keep the quick-start sheet with the printer for next time you change your Wi-Fi password.
Frequently asked questions
Why does a new printer take so long to start the first time?
On first power-up many inkjets prime the ink system, which fills the lines and print head. On ink tank printers this initial charge can take several minutes. Do not switch the printer off while it is working.
Should I use the setup ink that came in the box?
Yes. Setup cartridges or bottles are made for the first fill. Some are partly used up priming the printer, so expect them to run out sooner than replacements.
Do I need to install the CD that came with the printer?
Usually not. Discs are often out of date, and many computers have no disc drive. Current versions of Windows, macOS and ChromeOS can add most printers without extra software, and makers publish current software on their own websites.
Where should I put a wireless printer?
On a stable, level surface with space to open the lids and trays, near a power socket, and within good Wi-Fi range of the router. Avoid placing it right next to a microwave or cordless phone base.
Sources
Editorial team
The Printers Setup team writes and reviews step-by-step printer setup guides and checks them against the current menus of Windows, macOS, ChromeOS, iOS and Android.