First setup by model
Canon PIXMA Printer Setup: Wi-Fi, App and Computer Steps
Written by Printers Setup Editorial Team · Updated
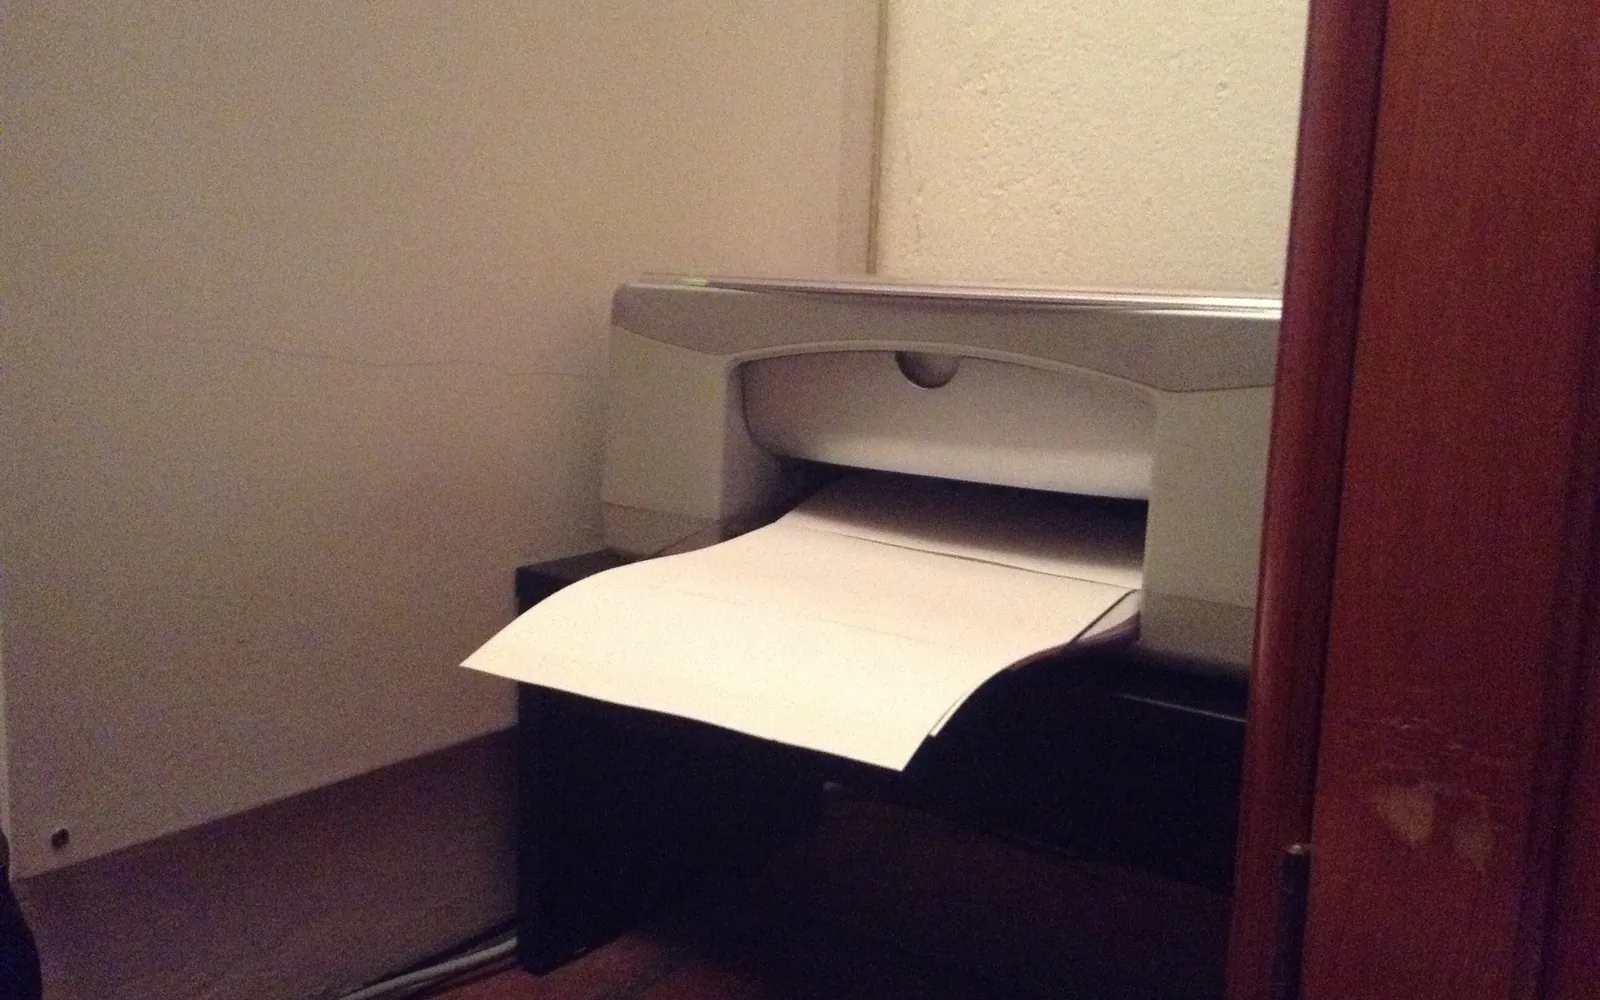
Canon PIXMA printer setup comes down to three stages: prepare the printer, connect it to Wi-Fi (or USB on models without wireless), then add it on your computer or phone. Wireless PIXMA models can join Wi-Fi through the Canon PRINT app, the printer’s own menu, or WPS. This is an independent guide written from common PIXMA menus; your model’s online manual on Canon’s site has the exact button names.
This page replaces our older separate pages for general PIXMA setup and the PIXMA TR4720. For the USB-only PIXMA MG2522, see the Canon MG2522 setup guide.
Stage 1: prepare the printer
- Unpack fully. Remove orange tape and protective material, including inside the front or top cover. Our new printer setup checklist lists the usual hiding places.
- Connect power and switch on. Choose your language and country if asked.
- Install the ink. Cartridge models use FINE cartridges that contain both ink and print head: open the cover, wait for the holder to move to the centre and stop, remove the protective tape from each cartridge and push it into the slot whose label matches until it clicks. MegaTank (G series) models are filled from bottles instead, and the first ink charge takes a few minutes.
- Load paper. Depending on the model, paper goes in a front cassette or a rear tray. Slide the guides to the paper edges.
- Let the printer finish any alignment or initial cleaning it starts.
Stage 2: connect to Wi-Fi
Pick one route.
Route A: Canon PRINT app
- Install Canon PRINT from the App Store or Google Play.
- Open it and choose to add or register a printer.
- The app looks for printers in setup mode. If yours is not found, follow the app’s prompt to put the printer in wireless connection mode (on many models by holding the Wi-Fi or Direct button, or from the menu).
- Confirm your Wi-Fi network and password. The printer joins and the app registers it.
Route B: the printer’s menu
On models with a screen, the path is usually Settings or Setup, then LAN settings, Wireless LAN, Wireless LAN setup. Choose your network from the list and type the password with the arrow or number keys. Models with a two-line display take longer to type on, but work the same way.
Route C: WPS
Many PIXMA models support WPS push button: start WPS on the router, then choose WPS (push button) in the printer’s Wireless LAN setup menu within two minutes. See connect a printer to Wi-Fi with WPS.
Route D: computer installer
Canon’s setup site, ij.start.canon, lets you enter your model name and download the current installer for Windows or macOS. The installer guides you through Wi-Fi connection and installs Canon’s driver and scan software. It is optional if you only need basic printing.
Once connected, print a LAN settings or network information page from the printer’s menu to confirm the network name and IP address.
No disc drive? You do not need the CD
Many PIXMA boxes still include a setup CD, but most current laptops have no disc drive and the software on the disc may be older than your operating system. You lose nothing by skipping it: the same installer, newer, is on ij.start.canon, and Windows, macOS, iOS and Android can all print to a networked PIXMA with built-in drivers. Our guide to installing a printer without a CD walks through each option.
Settings worth checking after setup
Once the PIXMA is on Wi-Fi and printing, spend two minutes on these so it keeps working:
| Setting | Where to find it | Why it matters |
|---|---|---|
| IP address reservation | Your router’s app or admin page, DHCP or LAN section | Keeps the printer at the same address so computers that added it by IP stay connected. |
| Auto power off / power settings | Printer menu (often under ECO or Device settings) on models that offer it | If the printer switches itself fully off, phones and computers will report it offline until you turn it on. |
| Default paper size | Printer menu, and Printing preferences on Windows | A4 versus Letter mismatches cause clipped margins or paper prompts. |
| Firmware update | Printer menu or Canon’s software, where the model supports it | Updates can improve network and AirPrint behaviour. Check your model’s manual for the exact option. |
Menu names differ between models, so if you cannot find an item, search your model’s online manual on Canon’s site for the setting name.
Stage 3: add the printer on your devices
- Windows 11: Settings, Bluetooth & devices, Printers & scanners, Add device. See add a printer in Windows 11.
- Mac: System Settings, Printers & Scanners. Most PIXMA models appear as AirPrint printers. See add a printer on Mac.
- iPhone and iPad: print with AirPrint. See print from iPhone.
- Android: use the built-in print service or Canon PRINT. See print from Android.
For scanning from an all-in-one PIXMA, see printer scanner setup.
Notes for the PIXMA TR4720
The TR4720 is a compact wireless all-in-one with a document feeder and fax. Setup follows the same three stages:
- It has a small display and buttons rather than a touchscreen, so the Canon PRINT app or the computer installer is the most comfortable way to enter your Wi-Fi password.
- Paper loads in the rear tray. Raise the paper support and slide the guides to the paper edges.
- To use fax, connect the phone line to the LINE socket on the back and set up date, time and fax number when the printer prompts you. Fax setup is optional if you only print and scan.
If the PIXMA will not connect
- Make sure you are using a 2.4 GHz network; many PIXMA models do not use 5 GHz.
- Restore the printer’s LAN settings from its menu and start again.
- Keep the printer close to the router for the first connection.
- If the router uses WPA3 only, switch it to WPA2/WPA3 mixed mode.
Setting up a second printer from another maker? The stages are similar; see our Epson printer Wi-Fi setup guide or HP printer setup with the HP Smart app.
Frequently asked questions
How do I connect my Canon PIXMA to Wi-Fi?
Use the Canon PRINT app on your phone, which detects the printer in setup mode and sends it your Wi-Fi details, or use the printer's menu: Wireless LAN setup, then pick your network and enter the password. WPS is also supported on many models.
Do I need the Canon PRINT app?
Not for basic printing. Most wireless PIXMA models support AirPrint and Android's built-in printing. The app helps with first Wi-Fi setup, scanning to your phone and checking ink.
Can every PIXMA print wirelessly?
No. Some entry-level models, such as the PIXMA MG2522, have USB only. Check the specifications or the box for Wi-Fi.
Where can I download Canon printer software?
From Canon's own support pages or its setup site ij.start.canon, where you enter your model name. Avoid download sites and ads that ask you to call a number.
Sources
Editorial team
The Printers Setup team writes and reviews step-by-step printer setup guides and checks them against the current menus of Windows, macOS, ChromeOS, iOS and Android.