Wi-Fi and network
Change a Printer from USB to Wireless: Step-by-Step Guide
Written by Printers Setup Editorial Team · Updated
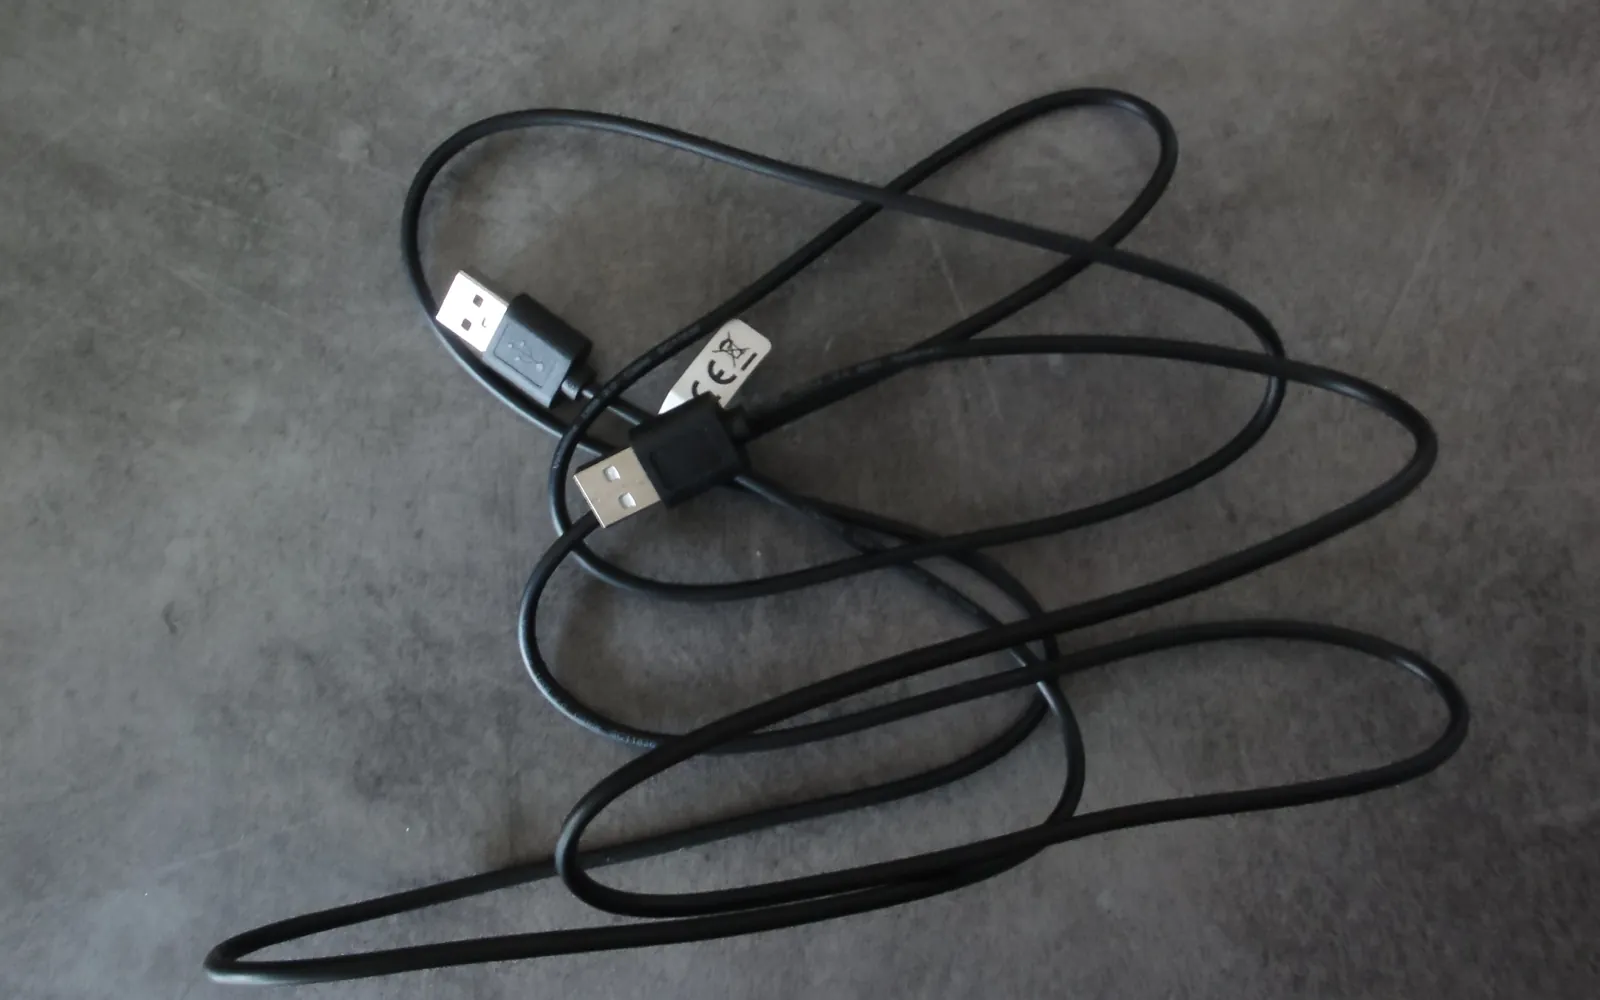
Many printers start life on a USB cable because that was the quickest way to get the first page out. Later you want the laptop to print from the sofa, or a second computer to use the same printer. You can change a printer from USB to wireless without buying anything, as long as the printer has Wi-Fi built in. The job has two halves: first the printer joins your Wi-Fi network, then every computer adds it again as a network printer and drops the old USB entry.
Step 1: check that the printer has Wi-Fi
Look at the printer before you start. A Wi-Fi light, a button with a wireless symbol, or a Wi-Fi, Wireless LAN or Network menu on the screen means it can join a network. If you find none of these and the manual only mentions USB, the printer has no Wi-Fi radio and no setting will add one. Skip to the section on USB-only printers near the end of this guide.
Also note your Wi-Fi network name and password, and whether your router uses separate 2.4 GHz and 5 GHz names. Many home printers only use 2.4 GHz; our 2.4 GHz printer setup guide explains how to handle dual-band routers.
Step 2: join the printer to Wi-Fi
Pick whichever method your printer supports:
- Printers with a screen: open the wireless setup wizard on the control panel, choose your network and type the password. Brother, for example, describes this as the control panel setup wizard and asks you to write down your network name (SSID) and network key first.
- WPS button: if your router has a WPS button, press it, then start WPS on the printer within the time the manual gives. Our WPS guide covers the details.
- Maker’s app: HP, Epson, Canon and Brother all offer phone apps that pass your Wi-Fi details to the printer. See the guides for HP, Epson, Canon and Brother.
- Temporary USB cable: some printers without a screen are set up by running the maker’s installer on a computer with the USB cable still attached. The installer sends the Wi-Fi details over the cable, then tells you to unplug it. Apple’s Mac guide describes the same idea: you might need to connect a Wi-Fi printer with a USB cable to set up Wi-Fi printing, and after setup you can disconnect the cable and the printer should stay on the network.
Once the printer reports a connection, print its network configuration or Wi-Fi status page. It should show your network name and an IP address. Keep the page; our guide to finding a printer’s IP address explains what the numbers mean.
Step 3: add the wireless printer on Windows 11
- Open Settings, Bluetooth & devices, Printers & scanners.
- Select Add device. Windows searches the network and lists the printer, often with its model name.
- Select Add device next to the network entry. If the printer is not listed, choose the option to add it manually and enter its IP address.
Windows usually uses the driver that is already installed for the USB copy. If it asks for one, follow our Windows 11 driver guide. The full walkthrough is in add a printer in Windows 11.
Step 4: add the wireless printer on a Mac
- Open System Settings, then Printers & Scanners.
- Click Add Printer, Scanner, or Fax.
- Select the printer from the list (it now appears as a network or AirPrint printer) and click Add.
If it does not appear, add it by IP address from the IP tab. Apple lists the protocols it supports there: AirPrint, HP Jetdirect (Socket), LPD and IPP. Our Mac printer guide covers both routes.
Step 5: remove the old USB entry
After the change you will usually see two printers with similar names. On Windows the new one may be called “Copy 1”; on a Mac the USB one may show the cable type in its details. Do this in order:
- Print a test page to the new wireless entry. Our test page guide shows how on each system.
- Make the wireless entry your default printer; see set a default printer in Windows 11.
- Remove the USB entry: on Windows, select it in Printers & scanners and choose Remove; on a Mac, Control-click it in the Printers list and choose Remove Printer.
- Unplug the USB cable.
If you prefer to keep the cable for one desk computer, that works too. Just check each device prints to the copy you expect.
Phones and other devices
Once the printer is on Wi-Fi, phones and tablets on the same network can use it too. iPhones and iPads find AirPrint printers automatically; Android phones use the built-in print service. See print from iPhone and print from Android.
What if the printer is USB-only
A printer with no Wi-Fi hardware can still be shared, just not on its own:
- Ethernet: some printers have a network port but no Wi-Fi. A cable to the router puts them on the network; see our Ethernet printer setup guide.
- Share it from a computer: leave it on USB and share it from Windows or macOS. It only works while that computer is on. Our printer sharing guide explains how.
- A small print server: a Raspberry Pi running CUPS can share a USB printer with the whole network around the clock. CUPS’s own sharing documentation explains how shared queues are announced to other computers, and our Raspberry Pi print server guide walks through the setup.
If the change does not work
- The printer cannot see the network: move it closer to the router during setup and check the 2.4 GHz band.
- It joined but computers cannot find it: make sure the computer is on the same network, not a guest network, and add the printer by IP address.
- It worked, then stopped after a router change: the printer is still looking for the old network. Follow connect a printer to a new Wi-Fi network.
Frequently asked questions
Can any USB printer be made wireless?
Only if it has Wi-Fi built in. Check the printer's control panel or manual for a Wi-Fi or wireless menu. A USB-only printer can still be reached from other devices if you share it from the computer it is plugged into, or attach it to a print server such as a Raspberry Pi running CUPS.
Do I need to reinstall the driver when switching from USB to Wi-Fi?
Usually not on Windows 11 or a Mac. The same driver is used for both connections; the computer simply creates a second printer entry that points at the network address instead of the USB port. If the maker's installer asks how the printer is connected, choose wireless or network.
Why do I now see two copies of my printer?
One entry is the old USB connection and the other is the new Wi-Fi connection. Windows often adds a name ending in Copy 1, or shows the network entry with the printer's model and IP address. Print a test page to each, keep the Wi-Fi one and remove the USB one.
Can I leave the USB cable plugged in as well?
You can, and some people do for a fast, reliable link from one desk computer. Just make sure that computer's default printer is the copy you mean to use, and that other devices use the Wi-Fi entry.
Sources
Editorial team
The Printers Setup team writes and reviews step-by-step printer setup guides and checks them against the current menus of Windows, macOS, ChromeOS, iOS and Android.