Computers
Raspberry Pi Print Server: Share a USB Printer with CUPS
Written by Printers Setup Editorial Team · Updated
A Raspberry Pi print server is a cheap way to give an older USB-only printer a second life on your network. Instead of keeping a desktop PC switched on to share the printer, a small, low-power Pi sits next to it, connected by USB, and every computer in the house prints to it. The software doing the work is CUPS, the printing system used by Linux and other Unix-like systems. This guide covers the setup from a fresh Pi to printing from Windows, Mac and Linux. It assumes you are comfortable typing a few commands.
Is a print server the right fix?
A Pi print server makes sense when:
- your printer has USB only, or its network module is broken,
- you want several computers to print without leaving a PC on,
- you have a spare Raspberry Pi and like a small project.
It is the wrong tool if your printer already has Wi-Fi or Ethernet. Connect it directly with our wireless printer setup guide or Ethernet printer setup guide. And if only one other computer needs the printer, sharing it from a Windows PC or Mac may be simpler.
What you need
- A Raspberry Pi with a network connection (Wi-Fi or Ethernet), its power supply and a microSD card with Raspberry Pi OS.
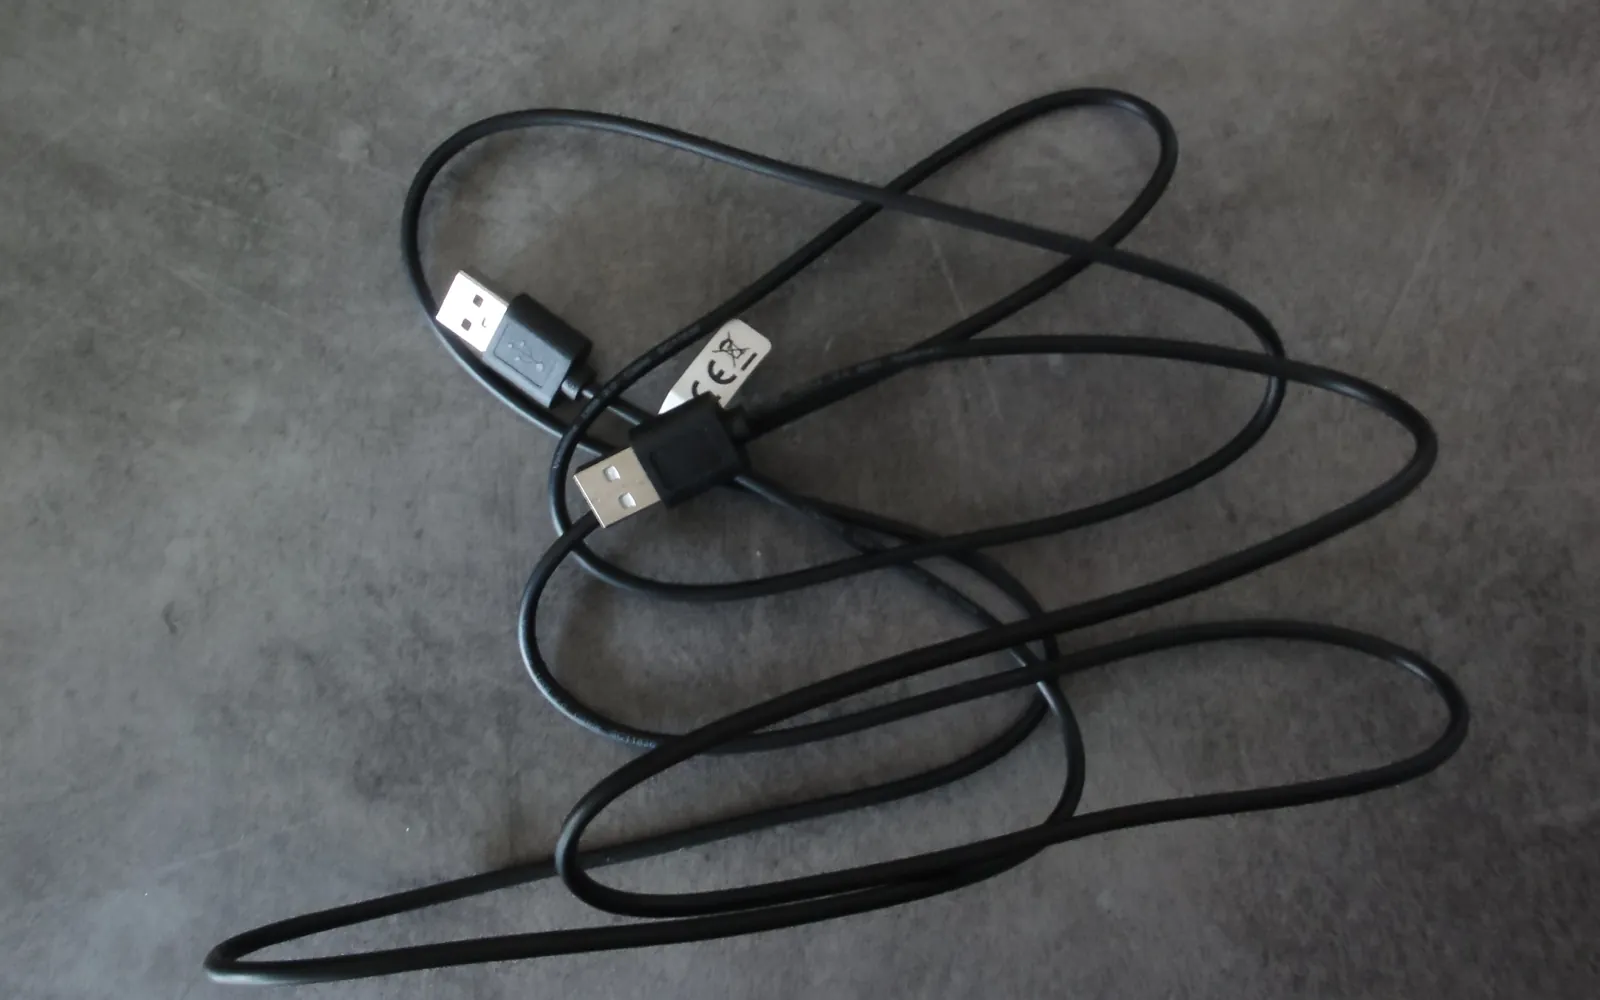
- A USB cable that fits the printer, usually USB-A to USB-B. See our guide to connecting a printer with USB for cable types.
- Access to your router’s settings, to give the Pi a fixed address.
Step 1: prepare the Pi
- Install Raspberry Pi OS and connect the Pi to your network.
- Update the system:
sudo apt updatethensudo apt full-upgrade. - Give the Pi a fixed address. The easiest way is a DHCP reservation on your router, so the Pi always gets the same IP. Our guide to finding a printer’s IP address explains reservations, and the same idea applies to the Pi.
Note the Pi’s IP address (for example with hostname -I). You will use it from the other computers.
Step 2: install CUPS and give yourself admin rights
- Install CUPS:
sudo apt install cups. - Add your user to the printer admin group:
sudo usermod -a -G lpadmin $USER. Log out and back in for the group to take effect. - If your printer needs a driver, install it now. Common driver packages on Debian-based systems include
printer-driver-gutenprintfor many inkjets andhplipfor HP printers. Many recent printers need no driver at all (see Step 4).
Step 3: let other computers reach CUPS
By default CUPS only accepts connections from the Pi itself. The CUPS sharing guide explains that cupsctl --share-printers turns on sharing and, by default, allows clients on the same subnet to print. Run:
sudo cupsctl --share-printers
If you want to manage CUPS from a browser on another computer, also add remote administration:
sudo cupsctl --share-printers --remote-admin
The cupsctl manual describes a third option, --remote-any, which allows printing from any address, including the internet. A home print server does not need it; leave it off unless your computers are on a different subnet from the Pi.
Step 4: add and share the printer
- Connect the printer to the Pi with USB and switch it on.
- Open the CUPS web interface: on the Pi, browse to
http://localhost:631; from another computer (with remote admin on), browse tohttps://pi-address:631. Your browser may warn about the self-signed certificate. - Go to Administration, then Add Printer, and sign in with your Pi username and password.
- Choose your USB printer from the list of local printers.
- Give it a short queue name without spaces, for example
kitchen, and tick Share This Printer. - Choose a driver. Where your printer supports IPP Everywhere, the standard from the Printer Working Group for driverless printing, choose the driverless or IPP Everywhere option. The CUPS administration guide notes that the
everywheremodel suits nearly all modern network printers. Otherwise choose the make and model from the installed drivers. - Set default options such as paper size (A4 or Letter), then print a test page from the printer’s Maintenance menu.
You can do the same from the command line. The CUPS guide lists lpinfo -v to show available devices and lpadmin to create a queue; to share an existing queue, use lpadmin -p kitchen -o printer-is-shared=true.
Step 5: add the printer on your computers
CUPS advertises shared printers on the local network with DNS-SD, also known as Bonjour, so many computers find the printer automatically. If yours does not, add it by address. The address of a CUPS queue has this form:
http://pi-address:631/printers/kitchen
- Windows 11: Settings, Bluetooth & devices, Printers & scanners, Add device, then Add manually. Choose Select a shared printer by name, paste the address above and continue. Windows may ask you to choose a driver; pick your printer model, or a generic driver if the queue on the Pi does the conversion. Our Windows 11 guide covers the manual route.
- Mac: System Settings, Printers & Scanners, Add Printer, Scanner or Fax. The printer often appears automatically; otherwise use the IP tab with protocol IPP, the Pi’s address and the queue
printers/kitchen. See adding a printer on a Mac. - Linux: shared CUPS printers usually appear on their own. Otherwise add an IPP printer with the same address; our Ubuntu printer guide shows where.
Print a test page from each computer to confirm everything works.
Keep it reliable and safe
- Leave sharing on your subnet only. Do not forward port 631 on your router, and avoid
--remote-anyunless you know why you need it. - Turn off remote admin when you have finished setting up, with
sudo cupsctl --no-remote-admin, if you do not need it. - Update regularly with
sudo apt updateandsudo apt full-upgrade. - Use a good power supply and shut the Pi down properly; sudden power cuts can corrupt the SD card.
- Keep the address fixed. If the Pi’s IP changes, computers that added it by address stop printing.
If the printer stops printing after an update, open the CUPS web interface on the Pi first: a paused queue or a stuck job there explains most problems.
Frequently asked questions
Can a Raspberry Pi make a USB printer wireless?
Yes. Connect the printer to the Pi with USB, connect the Pi to your network, and share the printer with CUPS. Computers then print to the Pi, which passes the job to the printer.
Do I need a printer driver on the Pi?
Many modern USB printers work driverless through IPP Everywhere or IPP over USB. Older printers need a driver on the Pi, for example from the Gutenprint or HPLIP packages or from the printer maker if it offers Linux drivers for ARM.
How do I add the Pi's shared printer in Windows?
In Printers & scanners, choose Add device, then Add manually, select a shared printer by name, and enter the printer's IPP address in the form http://pi-address:631/printers/queue-name. Windows may then ask for a driver.
Is it safe to share printers with CUPS?
On a home network, with sharing limited to your own subnet, the risk is low. Do not forward port 631 on your router, keep the Pi updated, and only enable remote administration if you need it.
Will iPhones and Android phones print to it?
Sometimes. CUPS advertises shared printers with DNS-SD (Bonjour), which phones also use for discovery, but whether a phone accepts a particular queue depends on the printer, the driver and the phone. Test it with your devices.
Sources
Editorial team
The Printers Setup team writes and reviews step-by-step printer setup guides and checks them against the current menus of Windows, macOS, ChromeOS, iOS and Android.