Computers
How to Add a Printer in Ubuntu: Network, USB and CUPS
Written by Printers Setup Editorial Team · Updated

When you add a printer in Ubuntu, the job is often shorter than you expect: connect the printer to the same network, open a print dialog, and it is already there. Ubuntu uses CUPS, the standard Linux print system, and most printers sold in recent years support driverless printing through IPP Everywhere or AirPrint, so CUPS can talk to them with no maker software. When the printer does not appear on its own, the Settings app, a typed IP address or the CUPS web page will get it added. This guide covers all three, plus USB and the cases that still need a driver.
How printing works on Ubuntu
A short bit of background makes the rest easier:
- CUPS manages printers and print jobs. Every Ubuntu desktop has it.
- Driverless printing means the printer describes its own capabilities over the network using IPP (Internet Printing Protocol). Standards such as IPP Everywhere, along with AirPrint and Mopria, rely on this. OpenPrinting, the project that maintains CUPS, documents how this removes the need for model-specific drivers on many printers.
- Automatic queues. When a driverless printer announces itself on your network, CUPS can create a queue for it automatically. That is why a printer sometimes shows up in the print dialog before you have added anything.
So the first thing to check is not settings at all.
Step 1: check whether it is already there
- Make sure the printer is on and joined to the same network as your Ubuntu computer. If it is new, see the wireless printer setup guide or the Ethernet printer setup guide.
- Open a document or web page and press Ctrl+P.
- Look at the printer list. If your printer appears, select it and print a test page.
If it is listed and prints, you are done. You can still add it permanently in Settings if you want to set defaults such as paper size or double-sided printing.
Step 2: add the printer in Settings
On Ubuntu’s standard GNOME desktop:
- Open Settings and select Printers in the sidebar.
- If the panel is locked, select Unlock and enter your password.
- Select Add Printer (on some versions, Add a Printer).
- Wait a few seconds while Ubuntu lists printers it can find on the network and on USB.
- Select your printer and choose Add.
- Open the printer’s menu (the gear or three-dot button) and choose Printing Options or Print Test Page to confirm it works.
Exact labels shift a little between Ubuntu releases, but the flow is the same.
Adding by IP address or hostname
If the printer is not in the list, type its IP address (for example 192.168.1.50) or its hostname into the search field at the top of the Add Printer window. Ubuntu queries that address and, if the printer answers, shows it so you can add it. To find the address, print a network report from the printer or see how to find a printer’s IP address. Reserving that address in your router stops it changing later.
Step 3: use the CUPS web interface for more control
CUPS has its own administration page in the browser. It is useful when the Settings panel does not offer the connection or driver you need.
- Open a browser and go to http://localhost:631.
- Select Administration, then Add Printer.
- Enter the username and password of an account allowed to manage printers (normally your own admin account).
- Choose the printer from the discovered list, or choose Internet Printing Protocol (ipp) and enter an address. Many driverless printers accept ipp://ADDRESS/ipp/print, where ADDRESS is the printer’s IP; check the printer’s documentation if that path does not work.
- Name the printer, then choose a model or driver. For a driverless printer, pick the IPP Everywhere option where it is offered.
- Set default options and print a test page from the printer’s page.
Doing it all from the terminal
On a server, a Raspberry Pi or several machines, the terminal is quicker than either Settings or the CUPS web page. The CUPS administration guide gives a one-line example for a modern network printer: lpadmin -p printername -E -v ipp://ADDRESS/ipp/print -m everywhere, where -m everywhere asks the printer to describe itself instead of using a driver. Then set the default with lpadmin -d printername and send a test file with lp -d printername followed by a file name. Our guide to adding a printer from the Linux command line explains each option, older printers that need a driver, and how to remove a queue with lpadmin -x.
Adding a USB printer
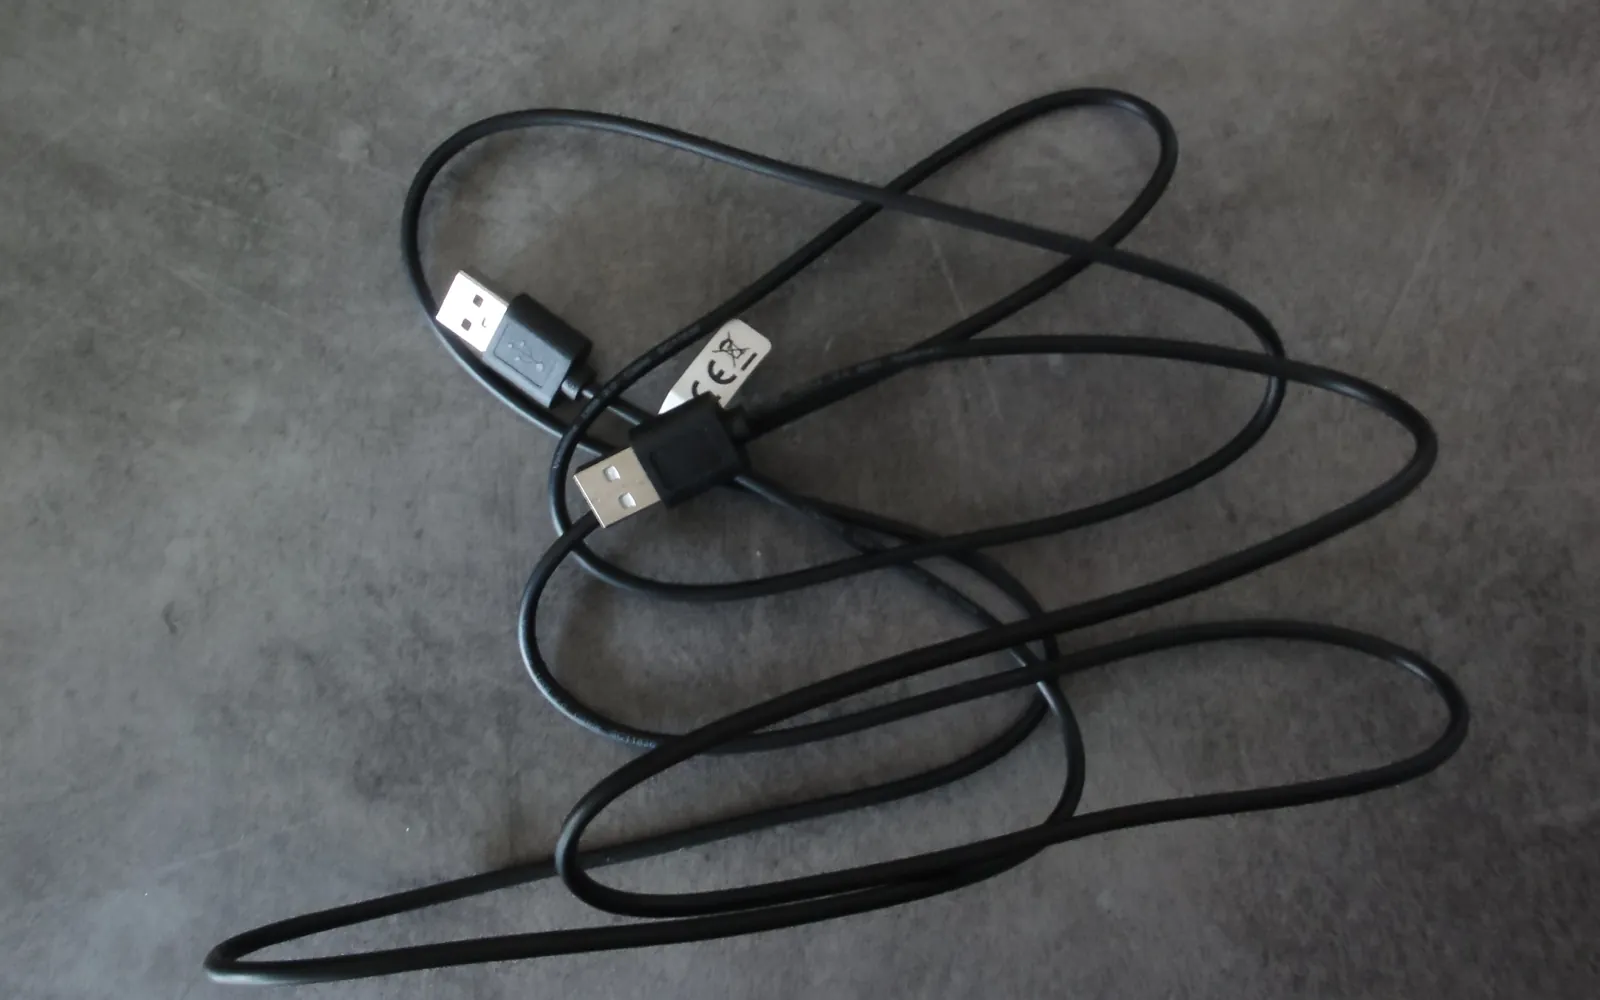
Plug the printer into the computer and switch it on. Many current USB printers support IPP-over-USB, which lets Ubuntu treat them like a driverless network printer, and they appear in Settings, Printers within moments. Others appear as a plain USB device and need a matching driver chosen during setup. If you are connecting a laptop for the first time, our guide to connecting a printer to a laptop with USB covers cables and adapters.
When a maker driver is still needed
Driverless printing covers a lot, but not everything:
| Situation | What usually helps |
|---|---|
| Printer supports IPP Everywhere or AirPrint | No driver needed; add it as above |
| Older printer without driverless support | A driver from Ubuntu’s repositories (search the printer model in the Add Printer driver list) |
| HP printers needing extra features such as some scanning or status tools | The HPLIP package, available in Ubuntu’s repositories |
| Brother, Epson and other makers | Many publish Linux drivers or packages on their support sites; check your model’s download page |
Check the printer’s specification sheet for IPP Everywhere, AirPrint or Mopria before installing anything extra. If it lists one of them, try driverless first. If you use the same printer for scanning, see our printer scanner setup guide for the general approach.
If the printer still is not added
Stay with setup checks:
- Same network: confirm the computer and printer use the same router, not a guest network.
- Printer awake: some printers stop announcing themselves in deep sleep; press a button or print a report.
- Search by IP instead of waiting for discovery.
- Restart the printer and the computer, then try Add Printer again.
- Try the CUPS page at localhost:631 if the Settings panel does not show the printer.
Using other systems too? See add a printer in Windows 11, add a printer on Mac and add a printer on a Chromebook.
Frequently asked questions
Do I need a driver to add a printer on Ubuntu?
Often not. Printers that support IPP Everywhere, AirPrint or Mopria can print driverless through CUPS. Older printers and some USB-only models may still need a driver from Ubuntu's repositories or the maker.
Why does my printer appear in Ubuntu without me adding it?
CUPS discovers driverless network printers announced on the local network and can create print queues for them automatically. That is normal and means no setup is needed.
How do I open the CUPS web interface?
Open a browser on the Ubuntu machine and go to http://localhost:631. Adding printers there asks for the username and password of an account allowed to manage printers, usually your own admin account.
Can I add a printer by IP address on Ubuntu?
Yes. In Settings, Printers, Add Printer, type the printer's IP address or hostname in the search field and wait for it to appear. In the CUPS web interface you can also enter an IPP address such as ipp://192.168.1.50/ipp/print.
Does this work on other Linux distributions?
The CUPS and driverless parts work the same on most desktop Linux systems. Menu names differ between desktops such as GNOME and KDE.
Sources
Editorial team
The Printers Setup team writes and reviews step-by-step printer setup guides and checks them against the current menus of Windows, macOS, ChromeOS, iOS and Android.