First setup by model
Canon MG2522 Setup: USB Printer on Windows 11 and Mac
Written by Printers Setup Editorial Team · Updated
Canon MG2522 setup is simpler than most printers because there is no Wi-Fi to configure: the PIXMA MG2522 is a USB-only all-in-one (print, copy and scan) that connects to a single computer by cable. You unpack it, install the two ink cartridges, load paper, plug in a USB cable and add it on Windows or Mac. This is an independent guide; Canon’s online manual for the MG2500 series has the full reference.
Because the MG2522 has no wireless connection, Wi-Fi troubleshooting steps you may see elsewhere do not apply to it. For wireless PIXMA models, see the Canon PIXMA printer setup guide.
What you need
- The printer, its power cord and the two setup FINE cartridges from the box.
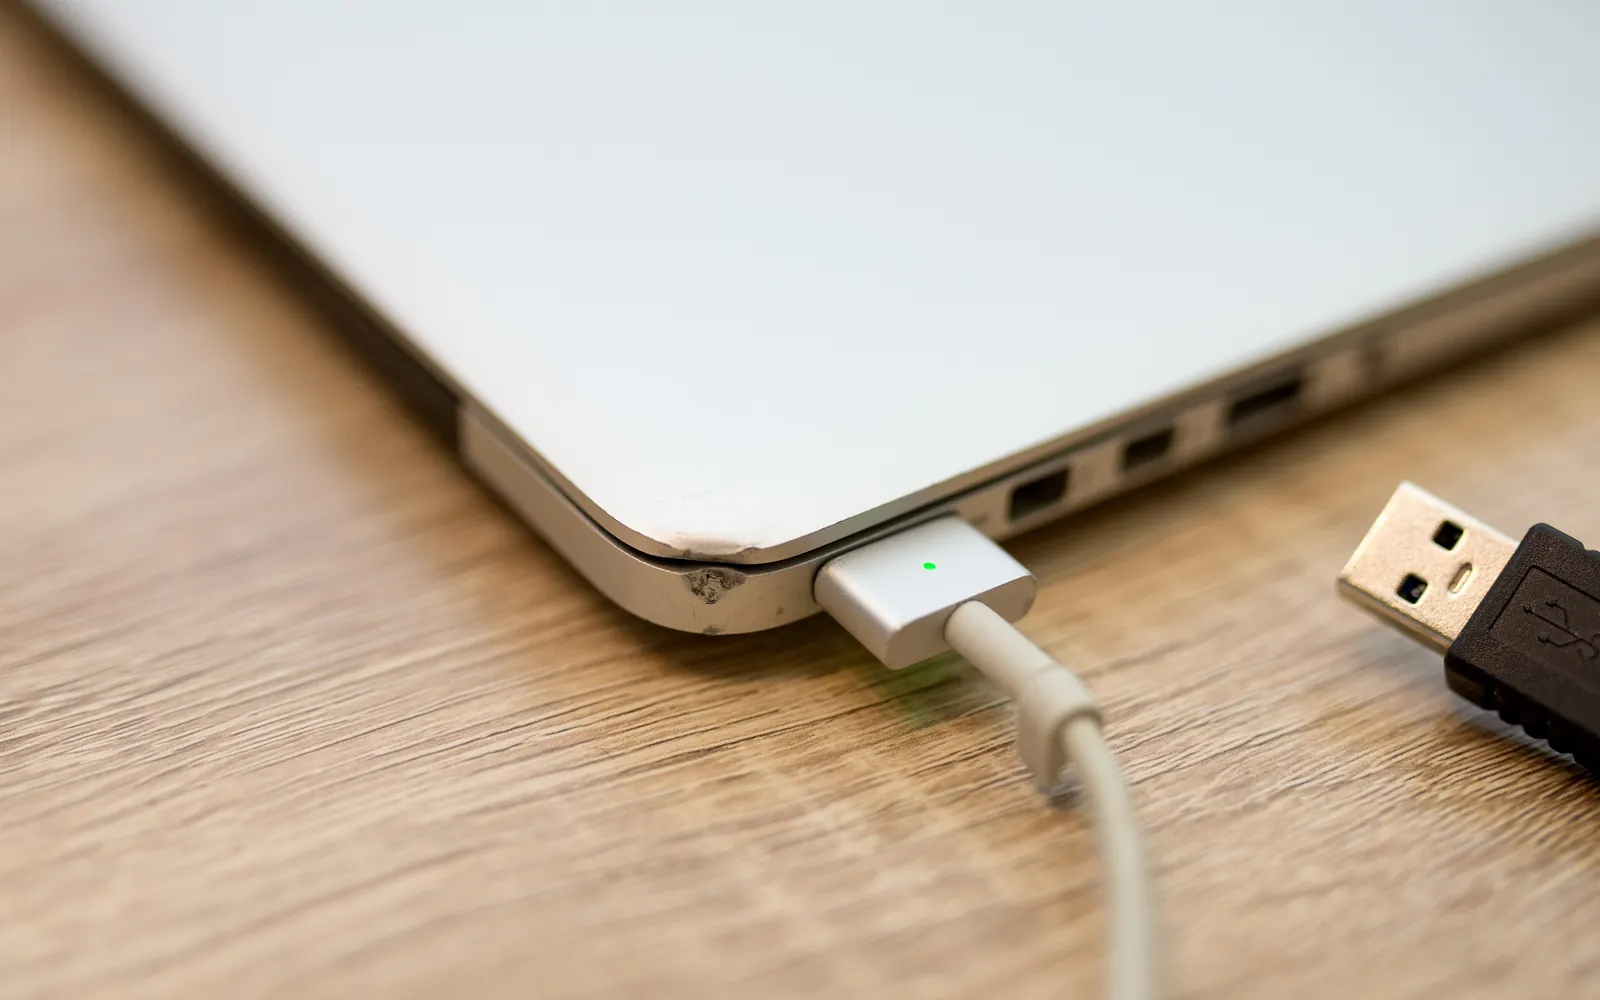
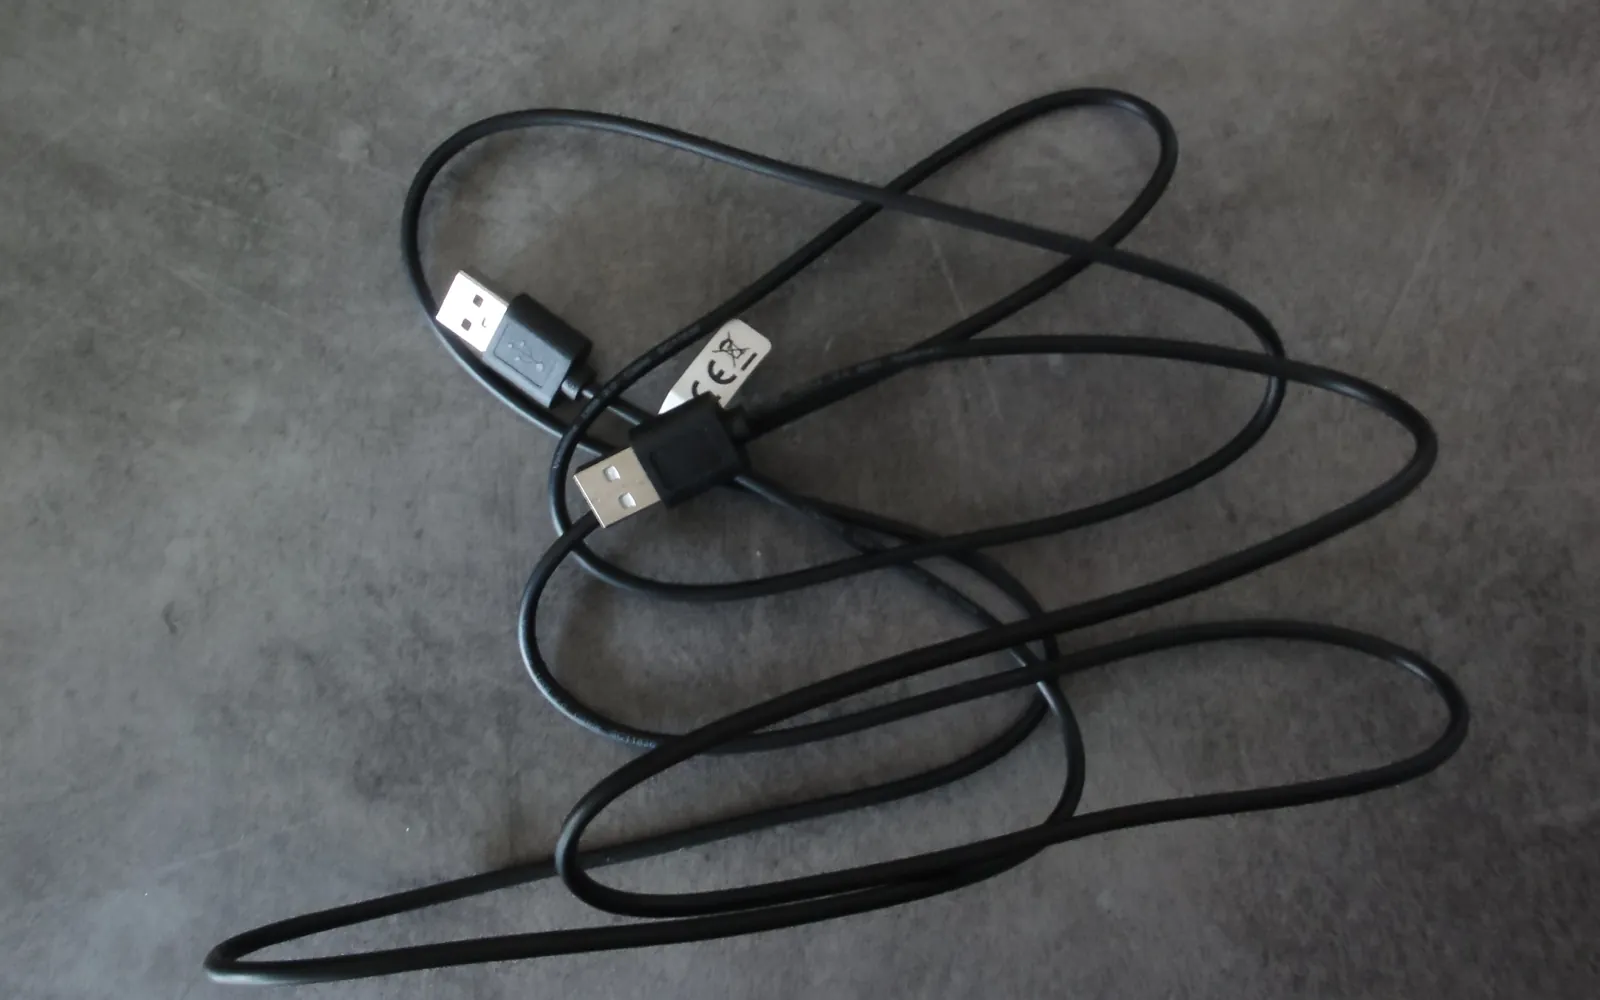
- A USB printer cable (USB-A on the computer end, USB-B on the printer end). A cable is generally not included in the box. Newer laptops with only USB-C ports need a USB-C to USB-B cable or an adapter.
- Plain A4 or Letter paper.
Step 1: unpack and power on
- Remove the printer from the box and take off all orange tape and protective film, including inside the front cover.
- Connect the power cord to the back of the printer and to the wall.
- Press the power button. The power lamp lights when the printer is ready.
Step 2: install the FINE cartridges
- Open the paper output tray and the front cover. The cartridge holder moves to the installation position.
- Wait until the holder stops and the printer is quiet.
- Take each cartridge out of its packaging and remove the protective tape. Do not touch the gold contacts or the nozzles.
- Insert each cartridge into the slot whose label matches it (the slots are marked for colour and black), tilted slightly upward, then push it until it clicks.
- Close the cover. The printer starts preparing the ink; wait until the lamps stop flashing.
Step 3: load paper
The MG2522 feeds paper from the rear tray:
- Raise the paper support at the back.
- Load plain paper in portrait orientation, print side facing you.
- Slide the paper guide against the edge of the stack.
- Open the paper output tray and its extension at the front before printing.
Step 4: connect to your computer and add the printer
Windows 11
- Connect the USB cable to the printer and the PC, with the printer switched on.
- Windows usually detects it and installs a driver within a few seconds.
- If not, open Settings, Bluetooth & devices, Printers & scanners, Add device.
- For full scanning features and Canon’s utilities, download the MG2500 series software for your Windows version from Canon’s support site or ij.start.canon.
More in how to add a printer in Windows 11.
Mac
- Connect the USB cable (with a USB-C adapter if needed).
- Open System Settings, Printers & Scanners, Add Printer, Scanner or Fax, and select the MG2520 series printer listed as USB.
- If the Use menu does not show a Canon driver, download the macOS driver from Canon’s site first, then add the printer again.
See add a printer on Mac.
Chromebook
ChromeOS can print to many USB printers without drivers. Plug the MG2522 in, and if ChromeOS asks you to set it up, choose Canon and the closest MG2500 series model. Support depends on the printer’s driverless capabilities, so test before relying on it. See add a printer on a Chromebook.
Getting the USB connection right
Most MG2522 setup hiccups come from the cable rather than the printer, so a few habits help:
- Plug straight into the computer. Use a port on the laptop or PC itself rather than an unpowered USB hub or a monitor’s USB ports, at least for the first setup. Once the printer works, you can test a hub if you need one.
- Keep the cable short and simple. A standard printer cable of a couple of metres is plenty. Avoid chaining extension cables.
- Switch the printer on before you connect the cable so the computer sees it as soon as the plug goes in.
- Use one port consistently. On Windows, moving the cable to a different USB port can make a second copy of the printer appear in Printers & scanners. It works, but you end up with two entries; delete the one you do not use.
- On USB-C laptops, a USB-C to USB-B cable is tidier than a stack of adapters, and either works.
Our general guide to connecting a printer to a laptop with USB covers cables, ports and adapters in more detail and applies to the MG2522 as well.
Settings to check after setup
Open the printer’s Printing preferences on Windows (or the print dialog on Mac) and set the default paper size to the paper you actually load, A4 or Letter, and the media type to plain paper. If the MG2522 is the only printer in the house, set it as the default printer so documents do not go to “Microsoft Print to PDF” by mistake.
Step 5: print and align
Print a test page from your computer. If text looks misaligned, run Print Head Alignment from the maintenance tab of the Canon driver (Windows Printing preferences, or Canon’s utility on Mac).
Scanning with the MG2522
Place the page face down on the glass and scan from the computer: on Windows use the Windows Scan app or Canon’s IJ Scan Utility; on Mac use Image Capture. See printer scanner setup.
Using the MG2522 from more than one device
Because it is USB-only, other computers and phones cannot reach it directly. Your options are to share it from the computer it is plugged into (see how to share a printer on your network), or, if wireless printing matters, to choose a Wi-Fi model in future.
Frequently asked questions
Can the Canon MG2522 print wirelessly?
No. The MG2522 has no Wi-Fi or network port. It connects to one computer by USB. Other devices can print through that computer if you turn on printer sharing.
Can I print from my phone to an MG2522?
Not directly. One option is to share the printer from a Mac with Printer Sharing turned on, which can make it visible to iPhones over AirPrint in many cases.
Does the MG2522 work with Windows 11 and macOS?
Canon lists drivers for current Windows and macOS versions on its support site. Windows often installs a driver automatically when you plug the printer in.
What cartridges does the MG2522 use?
It uses two FINE cartridges, one black and one colour. Check the cartridge numbers in your printer's manual or on Canon's site for your region, as names can vary between markets.
Sources
Editorial team
The Printers Setup team writes and reviews step-by-step printer setup guides and checks them against the current menus of Windows, macOS, ChromeOS, iOS and Android.