Computers
Add a Printer for All Users in Windows 11 and Windows 10
Written by Printers Setup Editorial Team · Updated
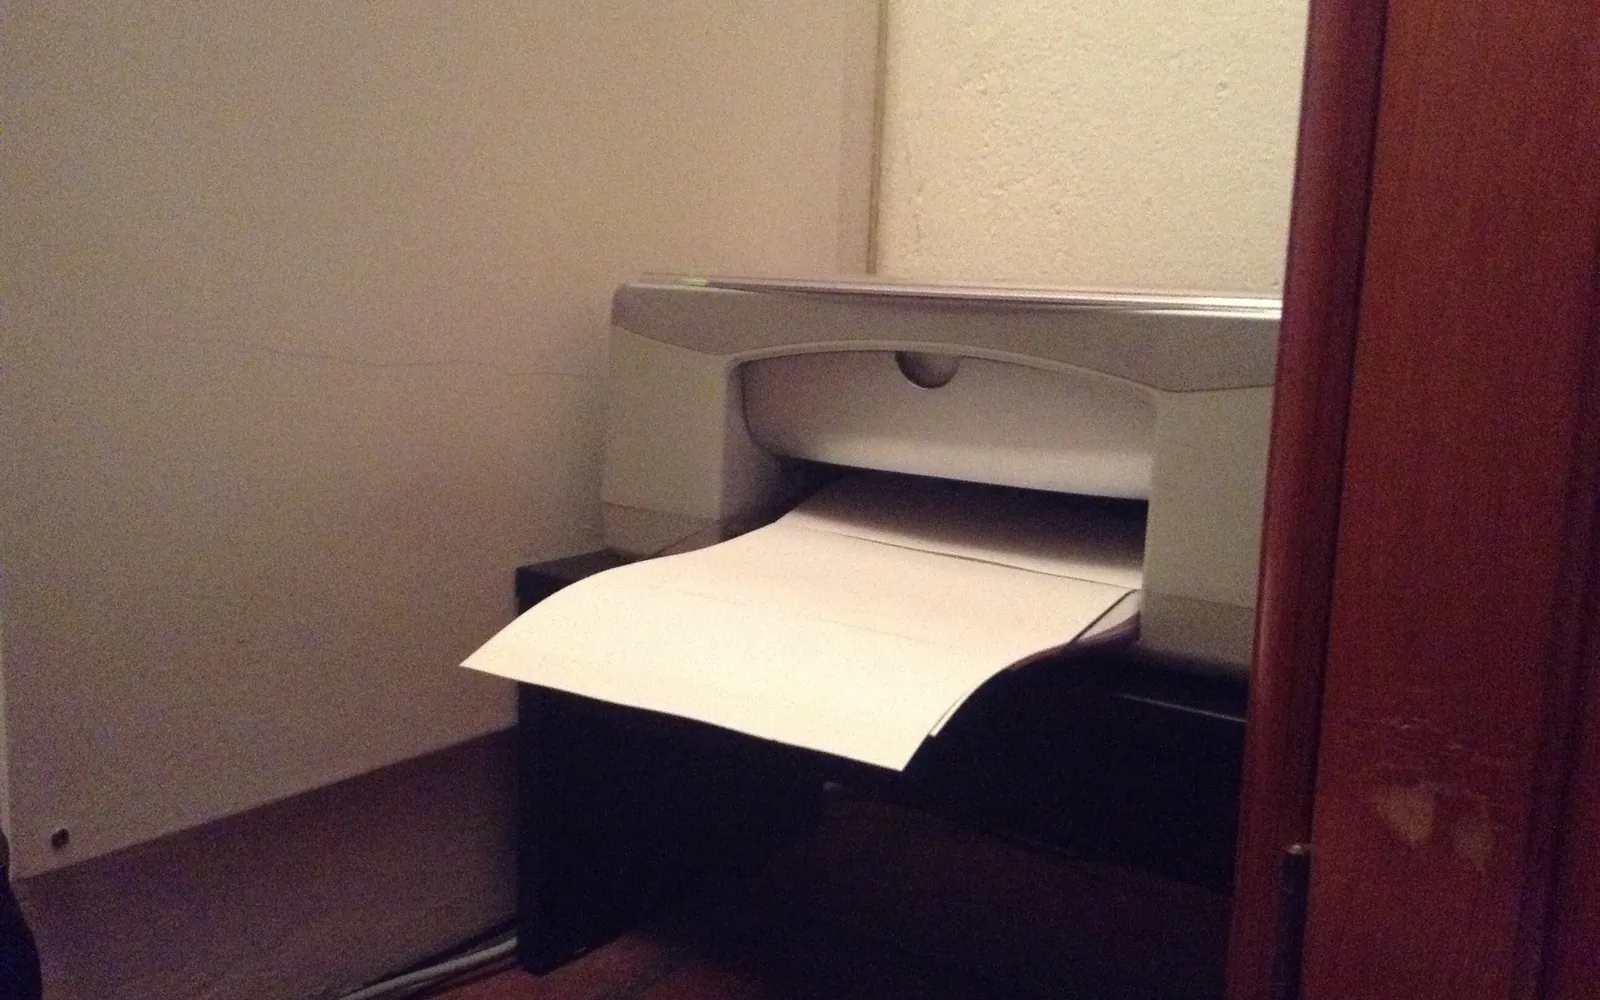
You set up the printer on the family PC, it works perfectly, and then someone else signs in and it is not there. Or a shared office computer shows the printer for one person and not the next. This guide explains how to add a printer for all users in Windows, why the problem happens in the first place, and the two reliable fixes: installing the printer as a local printer, or adding a per-computer connection with a built-in Windows command. The steps apply to Windows 11 and Windows 10.
This is an independent guide. We are not affiliated with Microsoft or any printer maker.
Why a printer shows for one user only
Windows has two different kinds of printer entries, and they behave differently:
| Type | How it is added | Who sees it |
|---|---|---|
| Local printer | USB printer, or network printer with its own TCP/IP, IPP or WSD port | Installed on the computer, normally visible to every account |
| Shared printer connection | Connecting to a printer shared by another PC or print server, written as \\PC-name\Printer | Added for the account that made the connection |
Microsoft’s reference for the printui command makes the per-user nature of connections clear: its example of connecting to a shared printer adds it so that it “is visible for the user account where this command is run”. That is why the printer appears for you and not for others.
To check which kind you have, open Settings, Bluetooth & devices, Printers & scanners, select the printer, then Printer properties and the Ports tab. A port such as 192.168.1.20, IP_..., WSD-... or USB001 means a local printer. A name starting with two backslashes means a shared connection.
Fix 1: install it as a local printer (recommended)
If the printer has Wi-Fi or Ethernet, the cleanest solution is to skip the sharing PC and add the printer directly to each computer, signed in as an administrator:
- Sign in with an administrator account.
- Open Settings, Bluetooth & devices, Printers & scanners, Add device. If the printer is listed, add it. If not, choose Add manually and add it by IP address. Our Windows 11 add a printer guide has both routes, and find a printer’s IP address shows where to look up the address.
- Remove the old shared connection from your account so you do not end up with two entries. See remove a printer in Windows 11.
- Sign in to another account and check that the printer is there.
For a USB printer plugged into this PC, simply install it once as an administrator; it is a local printer too. If you set up many PCs, adding a printer with PowerShell lets you script the port, driver and printer in a few lines.
Fix 2: add a per-computer connection with printui
Use this when the printer really is shared from another PC or a print server and you want every user on this computer to get it. Windows includes a command for exactly this. Microsoft’s reference describes the /ga option as adding “a per computer printer connection (the connection is available to any user on that computer when they log on)”.
- Make sure the shared printer works from your own account first.
- Select Start, type
cmd, right-click Command Prompt and choose Run as administrator. - Run the command with the PC’s name and the share name:
rundll32 printui.dll,PrintUIEntry /ga /n\\StudyPC\StudyPrinter- Sign out of each account and sign back in. Microsoft notes that the connection is applied when a user logs on, so it may not appear until then.
Two related options are useful:
- List per-computer connections:
rundll32 printui.dll,PrintUIEntry /ge - Remove one:
rundll32 printui.dll,PrintUIEntry /gd /n\\StudyPC\StudyPrinter(Microsoft says it is deleted the next time a user logs on).
Microsoft also points out that the keyword PrintUIEntry is case-sensitive, so type it exactly as shown.
The sharing PC must be switched on whenever anyone prints. Our share a printer on a network guide explains how to keep it reachable, and why a network printer is usually the better long-term choice.
In offices: Group Policy
On computers joined to a domain, administrators usually deploy printers with Group Policy instead of running commands on each PC. Microsoft’s pushprinterconnections tool reads deployed printer connections from Group Policy and adds or removes them, and is designed to run from startup or logon scripts. If your PC is managed by an employer or school, ask the IT team rather than changing printers yourself.
What stays different for each user
Even when every account sees the same printer, some settings are personal:
- Default printer. Each user chooses their own, or lets Windows manage it. See set the default printer in Windows 11.
- Printing preferences. Two-sided printing, colour or black and white and paper size can differ per user. See change default print settings in Windows 11.
- Phone and app sign-ins. Printer maker apps that use an online account are usually installed or signed in per user.
Which fix should you use?
- Printer on Wi-Fi or Ethernet: Fix 1. Every account gets it, and it keeps working when other PCs are off.
- USB printer on this PC: Fix 1. Install it once as an administrator.
- USB printer on another PC, shared: Fix 2, or better still give the printer its own network connection with a Raspberry Pi print server or a router USB port, then use Fix 1.
- Work or school PC: neither; ask IT.
A family PC example
Imagine one Windows 11 PC with three accounts: a parent’s administrator account and two children’s standard accounts. The inkjet printer sits on the home Wi-Fi.
- Signed in as the parent, open Printers & scanners and check the Ports tab. If it says
\\Laptop\Inkjet, the printer was connected through another computer’s share and only the parent sees it. - Remove that entry, then select Add device and add the inkjet directly. Windows creates a local printer with its own network port.
- Sign in as each child. The inkjet is listed. Set it as the default in each account and choose black and white as the default if you want to save colour ink.
- Print a test page from one child’s account to confirm that a standard account can print without an administrator prompt.
Standard accounts and drivers
A common reason families end up with per-user printers is that a child’s or guest’s standard account cannot install drivers, so someone connects the printer from their own account instead. Installing it once as an administrator, using Fix 1 or Fix 2, solves this: after the driver is on the computer, standard users can print without extra prompts. Our guide to installing a printer without admin rights explains what standard accounts can and cannot do.
Troubleshooting
- The /ga printer never appears. Check the share name with the sharing PC, run the command from an elevated Command Prompt, then sign out and in. Make sure the connection works from your own account first.
- Two copies of the printer. Remove the per-user connection or the older entry so only one remains.
- “Access denied” for other users. The sharing PC may limit who can print. Check the Security tab of the printer on that PC.
- Driver prompts for every user. The driver may not be packaged for automatic install; install it on this PC as an administrator first, using our Windows 11 driver guide.
Frequently asked questions
Why does a printer show for my account but not for my child's account?
It is most likely a connection to a printer shared by another PC, which Windows adds per user. Either add the printer as a local printer by IP address, or use printui /ga as an administrator to add a per-computer connection.
Do printers installed by an administrator show for all users?
Local printers, for example USB printers and network printers added with a TCP/IP or IPP port, are installed on the computer and normally show for all accounts. Connections to shared printers are the exception.
What does printui /ga do?
Microsoft's reference says /ga adds a per computer printer connection, available to any user on that computer when they log on. /ge lists these connections and /gd deletes one.
Can each user have a different default printer?
Yes. The default printer is a per-user setting, so each account can choose its own, or let Windows manage it. Printing preferences such as two-sided printing can also differ between users.
Do standard users need admin rights to use a printer added for all users?
No. Once an administrator has installed the printer and its driver, standard users can print to it. Adding new printers with new drivers is what usually needs an administrator.
Sources
Editorial team
The Printers Setup team writes and reviews step-by-step printer setup guides and checks them against the current menus of Windows, macOS, ChromeOS, iOS and Android.